Comprehensive Guide: 7 Meditation Postures
Meditation postures are not just about personal habits—they directly influence your focus, comfort, and even the flow of internal energy. Finding a posture that suits you can make meditation feel more stable and relaxed, allowing you to focus without being distracted by bodily tension. Let’s explore several meditation postures to help you find the most natural and comfortable position for your practice.
1. Easy Sitting Pose (Sukhasana)
Who/When It’s For:
- Beginners: One of the simplest meditation postures, suitable for those just starting out.
- Short sessions: Ideal for 10-15 minute sessions, providing simplicity and comfort.
- Limited flexibility: For those with less flexibility in the hips or legs, cushions or blankets can be used to improve comfort.
How to Do It:
- Legs: Cross your legs naturally, with knees close to the ground. You can place a blanket or cushion under your hips to raise your pelvis slightly and relieve pressure on your lower back and knees.
- Back: Keep your spine naturally extended, avoiding slouching, ensuring stability and relaxation.
- Hands: Rest your hands on your knees or thighs, with palms facing up or down, and fingers relaxed.
- Head: Keep your head neutral, with your chin slightly tucked in and your neck relaxed. Eyes can be gently closed or half-open, gazing softly ahead.
- Breathing: Maintain a natural rhythm, focusing on your breath to help stabilize your mind.
Tips:
- Use props: If your hips or knees feel tense, place a blanket or yoga block under your hips to elevate your pelvis and reduce leg strain.
- Check symmetry: Ensure your pelvis and spine are aligned. Regularly adjust your posture to maintain balance during meditation.
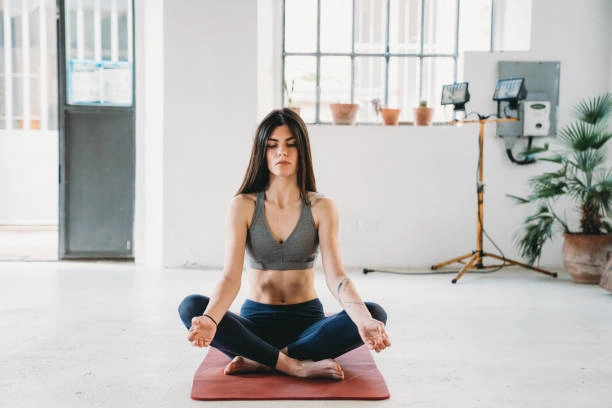
2. Half Lotus Pose (Ardha Padmasana)
Who/When It’s For:
- Good flexibility: Ideal for those with flexible hips and legs who can easily place one foot on the opposite thigh.
- More stability: Offers more stability than the easy sitting pose, making it suitable for longer meditation sessions.
- Advanced practitioners: For those used to the easy sitting pose and seeking to challenge their flexibility and concentration further.
How to Do It:
- Legs: Place one foot on the opposite thigh while the other leg naturally rests on the floor, with knees close to the ground.
- Back: Keep your spine straight, avoiding slouching or leaning forward, with shoulders relaxed but not slumped.
- Hands: Place your hands on your knees, palms up or down, with fingers relaxed.
- Head: Maintain a neutral head position, with your chin slightly tucked, eyes gently closed or half-open, focusing on a single point.
- Breathing: Breathe deeply, using your breath to guide your awareness back to the present and feel the flow of your breath.
Tips:
- Gradual practice: If your hips or knees are tight, start with the easy sitting pose and gradually work toward the half lotus.
- Practice symmetry: Alternate legs to maintain balance and avoid putting too much pressure on one side.
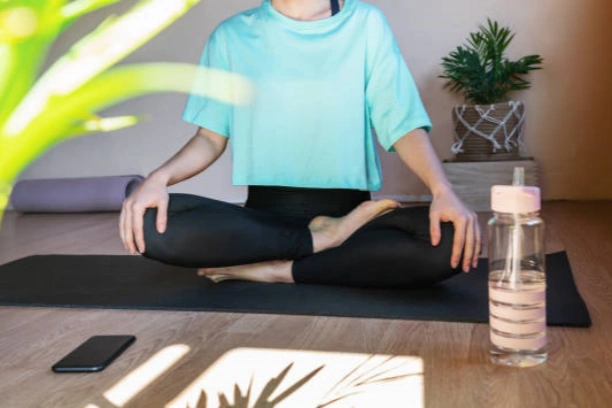
3. Full Lotus Pose (Padmasana)
Who/When It’s For:
- Experienced meditators: Requires high flexibility and control, suitable for those with years of meditation experience.
- Long sessions: Because of its high stability, it is ideal for long, seated meditation sessions.
How to Do It:
- Legs: Cross your legs with both feet resting on the opposite thighs, keeping your knees as close to the ground as possible, ensuring a stable pelvis.
- Back: Keep your spine naturally straight, avoiding leaning forward or backward.
- Hands: Place your hands on your knees or in front of your abdomen, with fingers naturally extended and arms relaxed.
- Head: Keep your head neutral, with your chin slightly tucked, and your neck relaxed. Eyes can be closed or half-open.
- Breathing: Breathe deeply and steadily, feeling the flow of your breath as you enter a deep meditative state.
Tips:
- Ease into it: If you lack flexibility, start with the half lotus and gradually work to increase the flexibility of your hips and knees.
- Use props: If you feel tension in your hips or knees, place a cushion or blanket under your hips to help adjust your pelvis position for more stability.
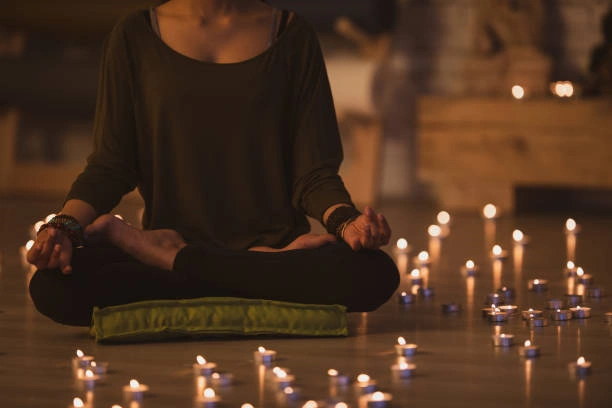
4. Sitting on a Chair
Who/When It’s For:
- Limited mobility: For those who cannot sit on the floor due to physical limitations.
- Office workers: Great for quick meditation breaks in the office, helping you recharge.
How to Do It:
- Legs: Place your feet flat on the floor with your knees parallel to your hips, ensuring even weight distribution on your feet.
- Back: Keep your back straight, not leaning on the chair’s backrest, allowing the spine to extend naturally.
- Hands: Rest your hands on your thighs, palms facing up or down, with arms relaxed.
- Head: Keep your head neutral, with your neck relaxed, and eyes gently closed or half-open.
- Breathing: Breathe naturally, focusing on the rhythm of your breath to feel the body’s relaxation and stability.
Tips:
- Adjust seat height: Ensure that your knees and hips are at the same level, with your feet firmly on the ground.
- Use armless chairs: Avoid chairs with armrests to keep your arms and upper body relaxed.
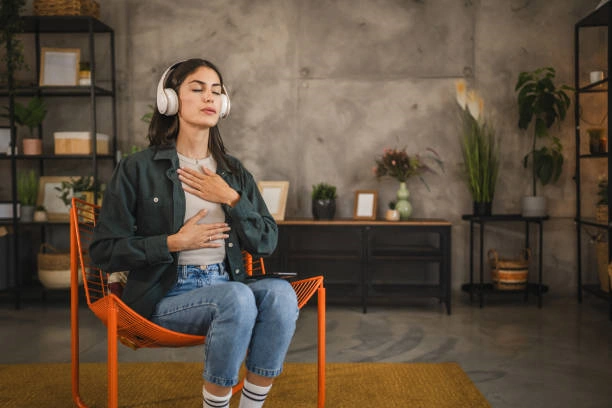
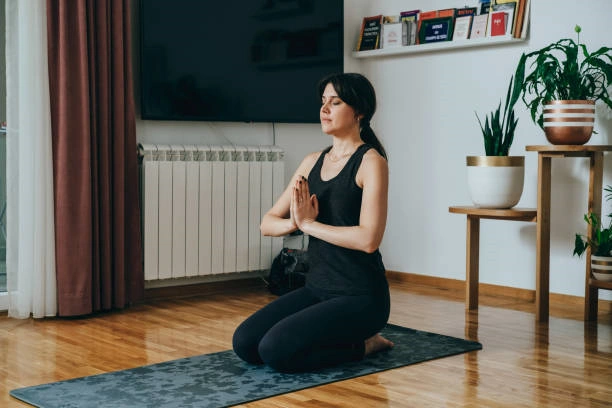
5. Kneeling Pose (Seiza)
Who/When It’s For:
- Uncomfortable with cross-legged sitting: Suitable for those who find cross-legged positions uncomfortable.
- Keeping the spine straight: This posture helps maintain the natural extension of the spine, strengthening spinal support.
- Short sessions: Ideal for shorter meditation sessions, as prolonged kneeling may put pressure on the knees and ankles.
How to Do It:
- Legs: Kneel with your knees together, sitting on your heels, with toes pointing backward and feet flat on the floor.
- Back: Keep your spine naturally curved and your back straight, avoiding slouching or leaning forward.
- Hands: Rest your hands on your thighs or knees, with palms facing down and fingers relaxed.
- Head: Keep your head neutral, with your neck relaxed, and eyes gently closed or half-open, gazing ahead.
- Breathing: Breathe naturally, feeling the extension of your spine with each breath.
Tips:
- Use cushions: If your knees or ankles feel uncomfortable, place a soft cushion or yoga block under your knees to reduce pressure.
- Increase duration gradually: Start with shorter sessions and gradually extend the time to avoid discomfort from prolonged kneeling.
6. Lying Down Pose (Savasana)
Who/When It’s For:
- Total relaxation: Perfect for those seeking complete relaxation, especially when tired or unwell.
- End of meditation: Often used at the end of yoga or meditation to bring the body into a deep state of relaxation and restore energy balance.
How to Do It:
- Legs: Extend your legs naturally, allowing your feet to relax and turn outward. If your lower back feels tense, place a pillow under your knees for support.
- Back: Allow your back to rest naturally on the ground, with your shoulders and hips relaxed.
- Hands: Place your hands by your sides, palms facing up, with fingers relaxed.
- Head: Rest your head naturally on the ground, keeping your neck relaxed. You can use a small pillow under your head for extra support if needed.
- Breathing: Focus on the flow of your breath, allowing your entire body to relax with each breath.
Tips:
- Stay aware: Keep some awareness to avoid falling asleep during meditation.
- Check for tension: Regularly check that your shoulders, back, and legs are fully relaxed.

7. Standing Pose
Who/When It’s For:
- Enhance stability and energy flow: Helps improve balance and promotes energy flow in the body.
- Long periods of sitting discomfort: An excellent alternative to sitting for those feeling stiffness from long periods of sitting.
How to Do It:
- Legs: Stand with your feet hip-width apart, toes pointing forward, with weight evenly distributed across both feet. Slightly bend your knees to keep your legs relaxed.
- Back: Keep your spine naturally extended, avoiding arching or collapsing the lower back.
- Hands: Let your hands rest by your sides or lightly on your abdomen, keeping your arms and shoulders relaxed.
- Head: Keep your head neutral, with eyes gently closed or slightly open, focusing on a fixed point.
- Breathing: Focus on the rhythm of your breath and the connection between your body and the ground.
Tips:
- Adjust your center of gravity: Make sure your body weight is evenly distributed to avoid leaning forward or backward.
- Ground your feet: Imagine your feet are rooted like tree roots, feeling the support of the ground and enhancing your stability.

Meditation postures are not just external forms but a way to help you find inner balance. Regardless of which posture you choose, the key is to find a harmonious point between your body and mind, allowing you to enter a state of focus and tranquility more easily. Through continuous adjustment and practice, you will gradually find the posture that suits you best, making meditation a natural and comfortable part of your daily life, bringing lasting inner peace.


